Why Drip Edges are Essential for Homes Near the Water in St. Clair Shores
Homes along the shores of Lake St. Clair face a constant battle against moisture. Wind-driven rain, high humidity, and freeze-thaw cycles create conditions where water can work its way under shingles and into your home. A properly installed drip edge is your first line of defense against these threats.. Read more about Protecting Your Jefferson-Chalmers Roof from Constant Humidity and High Water.
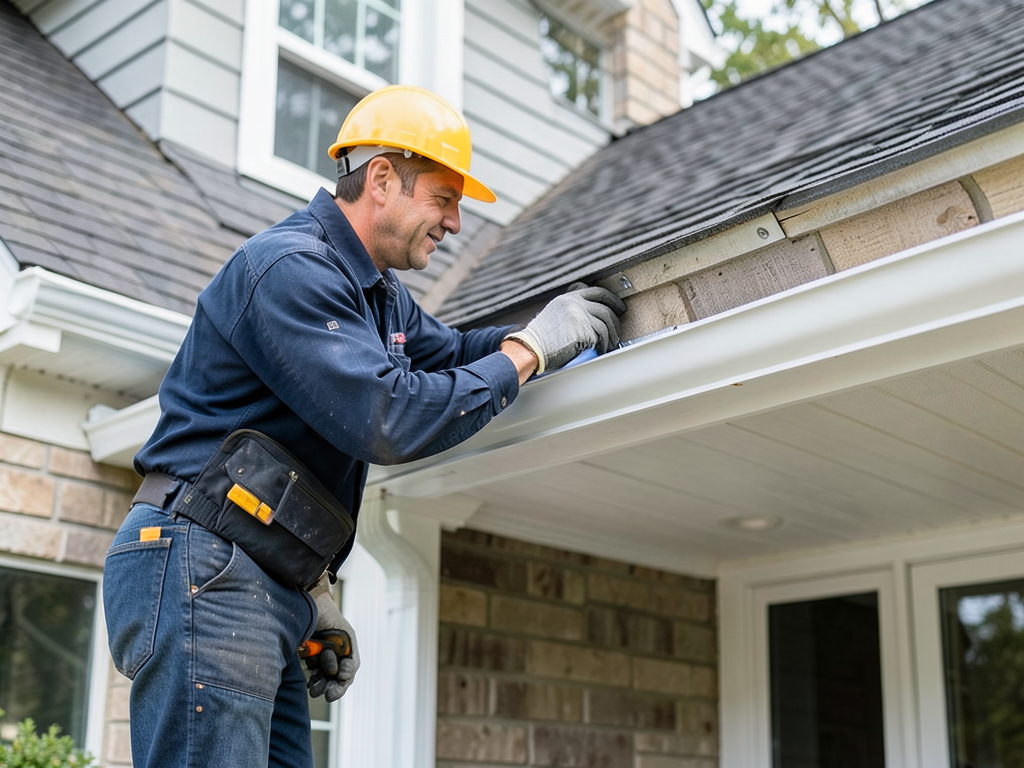
Drip edges are metal flashing installed along the eaves and rake edges of your roof. They direct water away from the fascia and into the gutter system while preventing wind-driven rain from seeping under your roofing materials. For St. Clair Shores homeowners, this simple component can mean the difference between a dry, protected home and thousands of dollars in water damage repairs. EPA WaterSense.
How Lake St. Clair Weather Affects Your Roof
The proximity to Lake St. Clair creates a microclimate that puts extra stress on roofing systems. During summer months, lake-effect humidity can reach 80-90%, creating ideal conditions for algae and moss growth on shingles. In winter, the combination of lake-effect snow and freeze-thaw cycles leads to ice dam formation, a major cause of roof leaks. Metal Roofing for Ferndale Homes (Is it Actually Worth the Investment?).
Wind patterns off the lake can drive rain horizontally during storms, forcing water up under traditional shingle installations. Without a properly installed drip edge, this moisture finds its way into your roof deck, attic insulation, and eventually your living spaces. The Michigan Residential Code recognizes these challenges and requires specific drip edge installation methods for homes in our region. Michigan Residential Code.
Understanding Drip Edge Profiles for Michigan Homes
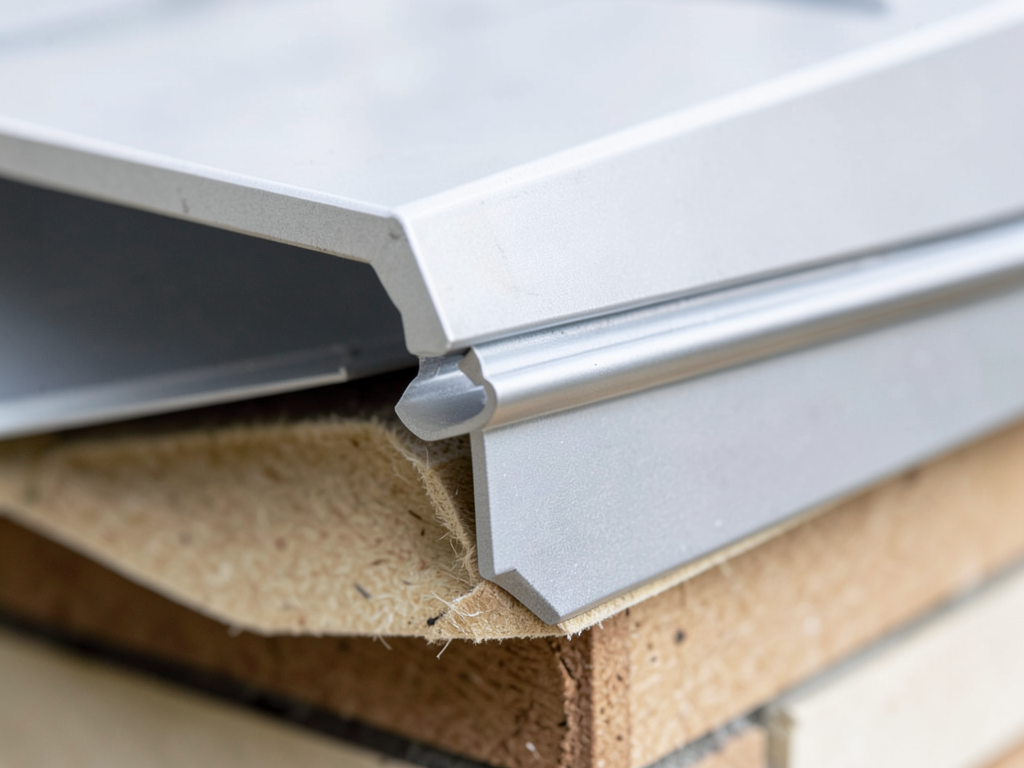
Not all drip edges are created equal. The Michigan Residential Code specifies Type T and Type F profiles as the standard for our climate. Type T features a taller flange that extends further down the fascia, providing better protection against wind-driven rain. Type F has a shorter flange but wider base, making it ideal for homes with minimal overhang.
For St. Clair Shores homes, we recommend Type T aluminum drip edge with a minimum 0.027-inch thickness. Aluminum resists corrosion in our high-moisture environment and provides the durability needed to withstand our harsh winters. The taller flange creates a better water barrier when dealing with the intense lake-effect storms that can hit our area.
Galvanized steel is another option, particularly for homes within one mile of the lake where wind exposure is highest. The steel’s strength resists bending from high winds, though it requires a protective coating to prevent rust in our humid climate. Stainless steel offers the best longevity but comes at a premium price point.
Step-by-Step Drip Edge Installation Process
Proper installation makes all the difference between a drip edge that works and one that fails. Here’s our proven process for Michigan homes:
- Remove Old Flashing
Carefully remove existing drip edge and inspect the fascia board for rot or damage. Replace any compromised wood before proceeding.
- Install Ice and Water Shield
Apply ice and water shield membrane along the eaves extending at least 24 inches past the interior wall line. This provides secondary protection against ice dams.
- Position the Drip Edge
Place the drip edge along the eaves with the flange extending at least 3/4 inch beyond the fascia. The top edge should extend up under the underlayment by at least 2 inches.
- Secure with Proper Fasteners
Fasten the drip edge using roofing nails spaced no more than 12 inches apart. Drive nails just above the nail hem to allow for thermal expansion. Spray Foam Roofing.
- Overlap Sections Correctly
Overlap individual pieces by at least 2 inches and seal joints with roofing cement to prevent water infiltration at seams. Roofing Detroit.
- Install Rake Edge
Install the rake edge after shingle installation, overlapping the eave edge by at least 1/2 inch to create a shingled effect that sheds water.
Michigan Residential Code Requirements You Must Know
The Michigan Residential Code Section R905.2.8.5 mandates specific drip edge requirements for homes in our state. The code requires drip edge flashing along eaves and gable roof edges. At eaves, the drip edge must extend at least 1/4 inch below the roof sheathing and be fastened to the roof deck.
The code also specifies that drip edge must be installed before underlayment at eaves and after underlayment at rakes. This seemingly minor detail creates a critical water-shedding pathway. When installed backward, water can travel up and under the shingles, defeating the entire purpose of the component.
For homes in St. Clair Shores, the code recognizes the need for enhanced protection. We recommend installing a secondary layer of ice and water shield along the rakes in addition to the standard drip edge. This extra step costs approximately $200-300 but can prevent thousands in potential damage from wind-driven rain.
The Critical Role of Drip Edges in Ice Dam Prevention
Ice dams form when heat from your attic melts snow on the roof, which then refreezes at the colder eaves. This creates a barrier that traps water, forcing it under shingles and into your home. A properly installed drip edge is essential for ice dam prevention, but it’s only part of the solution.
The drip edge works in conjunction with adequate attic insulation and ventilation. We recommend at least R-49 insulation in your attic space and continuous soffit-to-ridge ventilation. This combination keeps your roof deck cold, preventing the snow melt that leads to ice dam formation.
During our inspections, we use an infrared camera to identify heat leaks in your attic. These thermal images show exactly where warm air is escaping and melting snow on your roof. Addressing these issues, combined with proper drip edge installation, can eliminate ice dam problems for good.
Cost of Professional Drip Edge Installation in Metro Detroit
Professional drip edge installation for a typical St. Clair Shores home ranges from $800 to $1,500 depending on roof complexity and material choice. This includes removal of old flashing, inspection of fascia boards, installation of ice and water shield, and proper fastening of new drip edge.
Factors affecting cost include:
- Roof pitch: Steeper roofs require additional safety equipment and time
- Architectural complexity: Multiple valleys and dormers increase labor time
- Material selection: Aluminum costs less than galvanized steel or copper
- Accessibility: Homes with limited access may require special equipment
While DIY installation might save $200-300 in labor costs, improper installation can lead to thousands in water damage. The Michigan climate demands precision that comes from years of local experience. We’ve seen countless DIY installations where water is actually being directed into the home rather than away from it.
Common Drip Edge Installation Mistakes to Avoid
Even experienced contractors can make critical errors when installing drip edges. Here are the most common mistakes we see in St. Clair Shores:
Incorrect Overlap Direction – Drip edge sections must overlap in a way that directs water away from the house. Overlapping toward the house creates a funnel that directs water into your fascia.
Insufficient Fastener Spacing – Using nails spaced more than 12 inches apart allows the drip edge to flex in high winds, creating gaps where water can enter.
Poor Corner Mitering – Inside and outside corners require precise cutting and folding. A 1/4-inch gap at a corner can allow significant water infiltration during a storm.
Wrong Height Installation – Installing the drip edge too high allows water to run behind it. Too low, and it may not direct water properly into the gutter.
Missing Gutter Apron – For homes with gutters, a gutter apron extending under the shingles and over the back of the gutter prevents water from running behind the gutter system.
Maintaining Your Drip Edge for Long-Term Protection
Once properly installed, your drip edge requires minimal maintenance. However, annual inspections can catch small issues before they become major problems. Here’s what to look for:
Physical Damage – Check for bent or dented sections, particularly after severe storms. Even small deformations can create water entry points.
Fastener Integrity – Look for loose or missing nails. The Michigan freeze-thaw cycle can cause fasteners to work loose over time.
Corrosion Signs – While aluminum resists corrosion, galvanized steel may show rust spots. Early detection allows for spot treatment before widespread failure.
Gutter Alignment – Ensure your gutters remain properly aligned with the drip edge. Misalignment can cause water to miss the gutter entirely, leading to foundation issues.
We recommend professional inspection every two years, or after any major storm. Our team uses moisture meters to detect hidden water intrusion that isn’t visible to the naked eye.
Frequently Asked Questions
Can I install drip edge over existing shingles?
No. Installing drip edge over existing shingles creates a reverse lap that directs water under the shingles. The drip edge must be installed under the shingles and over the underlayment at eaves.
How long should drip edge last in Michigan weather?
Quality aluminum drip edge should last 20-30 years in Michigan. Galvanized steel may last 15-20 years, while copper can exceed 50 years. Harsh winters and salt exposure from roads can reduce these lifespans.
Is drip edge required by code for roof replacement?
Yes. Michigan Residential Code Section R905.2.8.5 requires drip edge installation for all new roof installations and replacements. Insurance companies may also require proof of code-compliant installation.
Can drip edge prevent all roof leaks?
No. While drip edge is crucial for preventing water infiltration at the roof edges, it cannot prevent leaks from damaged shingles, improper flashing around chimneys, or ice dams that form higher on the roof.
What’s the difference between drip edge and gutter apron?
Drip edge is installed along the eaves and rakes to direct water away from the fascia. Gutter apron is a specific type of drip edge that extends over the back of the gutter to prevent water from running behind it. Both serve different but complementary functions.
Call (313) 604-2233 Today to Schedule Your Inspection
Don’t wait for the next storm to discover your drip edge isn’t protecting your home. Our team has installed thousands of drip edges throughout St. Clair Shores and understands the unique challenges our location presents. We’ll inspect your current installation, identify any vulnerabilities, and provide a detailed plan for ensuring your home stays dry through every season.
Call (313) 604-2233 today to schedule your inspection. Our estimates are free, and we’ll show you exactly what we find with photos and thermal imaging. Protect your investment before water damage becomes a costly reality.
Pick up the phone and call (313) 604-2233 before the next storm hits. Your home deserves the protection that only proper drip edge installation can provide.
{
“@context”: “https://schema.org”,
“@type”: “BlogPosting”,
“headline”: “Why Drip Edges are Essential for Homes Near the Water in St. Clair Shores”,
“description”: “Homes in St. Clair Shores face unique moisture and wind-driven rain challenges. Discover why drip edges are critical for protecting your roof and preventing costly water damage.”,
“wordCount”: 1765,
“datePublished”: “2026-03-20T08:19:00.000Z”,
“dateModified”: “2026-03-20T08:19:00.000Z”,
“inLanguage”: “en-US”,
“mainEntityOfPage”: {
“@type”: “WebPage”,
“@id”: “https://peakroofingdetroit.com”
},
“publisher”: {
“@type”: “LocalBusiness”,
“name”: “Peak Roofing Detroit”,
“url”: “https://peakroofingdetroit.com”
},
“author”: {
“@type”: “Organization”,
“name”: “Peak Roofing Detroit”,
“url”: “https://peakroofingdetroit.com”
},
“image”: {
“@type”: “ImageObject”,
“url”: “https://peakroofingdetroit.com/wp-content/uploads/2026/03/why-drip-edges-are-essential-for-homes-near-the-wa-1.png”
}
}
{
“@context”: “https://schema.org”,
“@type”: “RoofingContractor”,
“name”: “Peak Roofing Detroit”,
“url”: “https://peakroofingdetroit.com”,
“address”: {
“@type”: “PostalAddress”,
“addressLocality”: “Detroit”
},
“areaServed”: {
“@type”: “City”,
“name”: “Detroit”
}
}
{
“@context”: “https://schema.org”,
“@type”: “FAQPage”,
“mainEntity”: [
{
“@type”: “Question”,
“name”: “Can I install drip edge over existing shingles?”,
“acceptedAnswer”: {
“@type”: “Answer”,
“text”: “No. Installing drip edge over existing shingles creates a reverse lap that directs water under the shingles. The drip edge must be installed under the shingles and over the underlayment at eaves.”
}
},
{
“@type”: “Question”,
“name”: “How long should drip edge last in Michigan weather?”,
“acceptedAnswer”: {
“@type”: “Answer”,
“text”: “Quality aluminum drip edge should last 20-30 years in Michigan. Galvanized steel may last 15-20 years, while copper can exceed 50 years. Harsh winters and salt exposure from roads can reduce these lifespans.”
}
},
{
“@type”: “Question”,
“name”: “Is drip edge required by code for roof replacement?”,
“acceptedAnswer”: {
“@type”: “Answer”,
“text”: “Yes. Michigan Residential Code Section R905.2.8.5 requires drip edge installation for all new roof installations and replacements. Insurance companies may also require proof of code-compliant installation.”
}
},
{
“@type”: “Question”,
“name”: “Can drip edge prevent all roof leaks?”,
“acceptedAnswer”: {
“@type”: “Answer”,
“text”: “No. While drip edge is crucial for preventing water infiltration at the roof edges, it cannot prevent leaks from damaged shingles, improper flashing around chimneys, or ice dams that form higher on the roof.”
}
},
{
“@type”: “Question”,
“name”: “What’s the difference between drip edge and gutter apron?”,
“acceptedAnswer”: {
“@type”: “Answer”,
“text”: “Drip edge is installed along the eaves and rakes to direct water away from the fascia. Gutter apron is a specific type of drip edge that extends over the back of the gutter to prevent water from running behind it. Both serve different but complementary functions.”
}
}
]
}
{
“@context”: “https://schema.org”,
“@type”: “HowTo”,
“name”: “How to Install Roof Drip Edge”,
“step”: [
{
“@type”: “HowToStep”,
“position”: 1,
“name”: “Remove Old Flashing”,
“text”: “Carefully remove existing drip edge and inspect the fascia board for rot or damage. Replace any compromised wood before proceeding.”
},
{
“@type”: “HowToStep”,
“position”: 2,
“name”: “Install Ice and Water Shield”,
“text”: “Apply ice and water shield membrane along the eaves extending at least 24 inches past the interior wall line. This provides secondary protection against ice dams.”
},
{
“@type”: “HowToStep”,
“position”: 3,
“name”: “Position the Drip Edge”,
“text”: “Place the drip edge along the eaves with the flange extending at least 3/4 inch beyond the fascia. The top edge should extend up under the underlayment by at least 2 inches.”
},
{
“@type”: “HowToStep”,
“position”: 4,
“name”: “Secure with Proper Fasteners”,
“text”: “Fasten the drip edge using roofing nails spaced no more than 12 inches apart. Drive nails just above the nail hem to allow for thermal expansion. Spray Foam Roofing.”
},
{
“@type”: “HowToStep”,
“position”: 5,
“name”: “Overlap Sections Correctly”,
“text”: “Overlap individual pieces by at least 2 inches and seal joints with roofing cement to prevent water infiltration at seams. Roofing Detroit.”
},
{
“@type”: “HowToStep”,
“position”: 6,
“name”: “Install Rake Edge”,
“text”: “Install the rake edge after shingle installation, overlapping the eave edge by at least 1/2 inch to create a shingled effect that sheds water.”
}
],
“image”: “https://peakroofingdetroit.com/wp-content/uploads/2026/03/why-drip-edges-are-essential-for-homes-near-the-wa-1.png”
}
{
“@context”: “https://schema.org”,
“@type”: “BreadcrumbList”,
“itemListElement”: [
{
“@type”: “ListItem”,
“position”: 1,
“name”: “Home”,
“item”: “https://peakroofingdetroit.com”
},
{
“@type”: “ListItem”,
“position”: 2,
“name”: “Blog”,
“item”: “https://peakroofingdetroit.com/blog”
},
{
“@type”: “ListItem”,
“position”: 3,
“name”: “Why Drip Edges are Essential for Homes Near the Water in St. Clair Shores”
}
]
}
{
“@context”: “https://schema.org”,
“@type”: “Service”,
“serviceType”: “Roofing”,
“provider”: {
“@type”: “LocalBusiness”,
“name”: “Peak Roofing Detroit”,
“url”: “https://peakroofingdetroit.com”
},
“areaServed”: {
“@type”: “City”,
“name”: “Detroit”
},
“description”: “Homes in St. Clair Shores face unique moisture and wind-driven rain challenges. Discover why drip edges are critical for protecting your roof and preventing costly water damage.”
}